Step-by-step in Python#
This page shows how to setup, run and visualize your first problem using Python.
For demonstration purposes, we show how to run the 1D Sod problem, but the same process applies to every other problem.
Hint
You can copy each snippet below by moving your mouse over the snippet’s box, and clicking the copy icon appearing on the top-right corner.
Step 1: Prepare#
You need CMake > 3.18.0. Let’s make a directory to run things and export the C++ compiler:
export CXX=<path-to-your-CXX-compiler> #must support C++17
export MYTEST=/home/myDemoTest
mkdir $MYTEST && cd $MYTEST
git clone --recursive git@github.com:Pressio/pressio-demoapps.git
cd pressio-demoapps
python3 setup.py install
After this step, pressio-demoapps should be installed in your Python distribution.
Step 2: Generate the mesh#
python3 $MYTEST/pressio-demoapps/meshing_scripts/create_full_mesh_for.py \
        --problem sod1d_s7 --outdir ${MYTEST}/mesh -n 500
where via sod1d_s7 we specified that we want Sod1d and
a 7-point stencil, and 500 is the number of cells.
The mesh files are generated inside ${MYTEST}/mesh.
Step 3: Main file and run#
Create a main.py as follows:
touch $MYTEST/main.py
and copy the following code in it:
import pathlib, sys, numpy as np
import matplotlib.pyplot as plt
import pressiodemoapps as pda
file_path = pathlib.Path(__file__).parent.absolute()

if __name__ == '__main__':
  meshPath = str(file_path) + "/mesh"
  meshObj  = pda.load_cellcentered_uniform_mesh(meshPath)
  problem  = pda.Euler1d.Sod
  scheme   = pda.InviscidFluxReconstruction.Weno5
  appObj   = pda.create_problem(meshObj, problem, scheme)

  yn = appObj.initialCondition()
  dt = 0.001
  Nsteps = 200
  # here we use the built-in time stepping with Runge-Kutta4
  pda.advanceRK4(appObj, yn, dt, Nsteps)

  x = meshObj.viewX()
  # plot only density
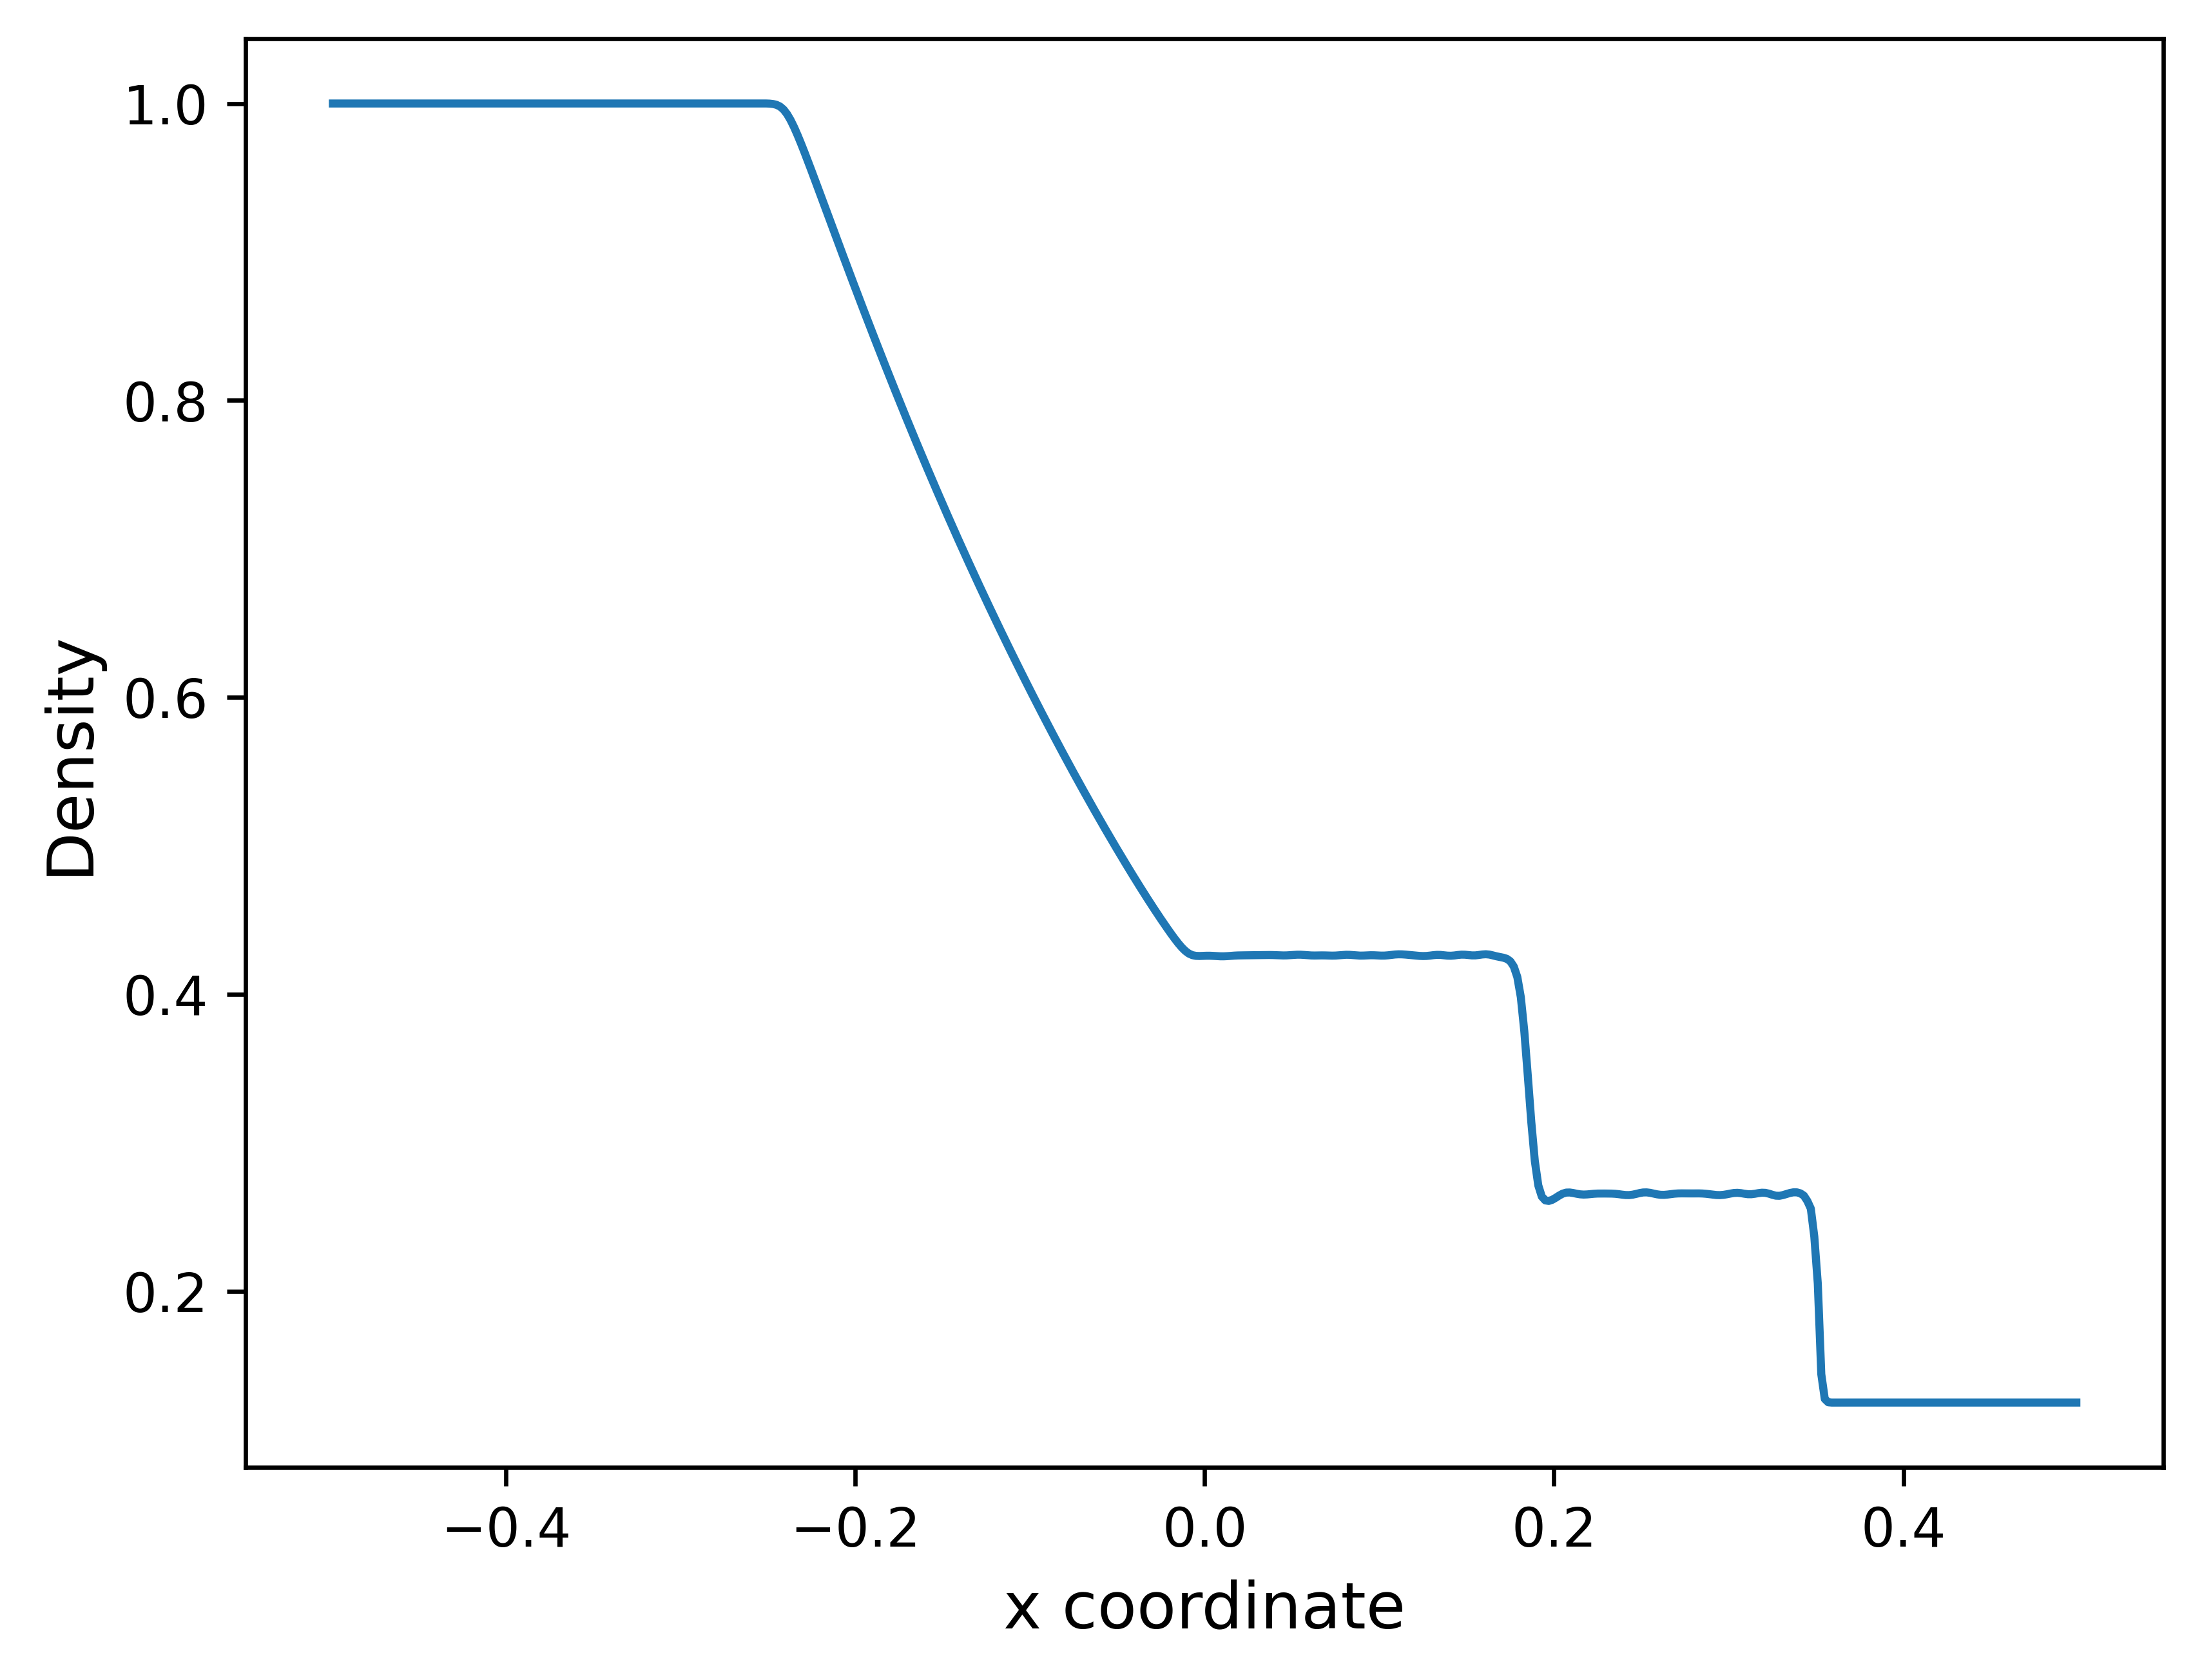
  plt.plot(x, yn[0:-1:3])
  plt.xlabel("x coordinate", fontsize=12)
  plt.ylabel("Density", fontsize=12)
  plt.show()
And run it:
cd $MYTEST
python main.py
which should display the following figure:
